How to Send Basic Auth Credentials Using cURL
cURL Basic Auth takes 30 seconds until the password has a $ in it, or a colon, or the server keeps returning 401. This guide covers every syntax variation, how to build the Authorization header manually, handling special characters, keeping credentials out of shell history and CI/CD scripts, and when Basic Auth is the wrong tool entirely.
Vilius Sakutis
Last updated: May 05, 2026
11 min read

TL;DR
- Basic usage. Start with curl -u user:password <URL> or test endpoint like https://postman-echo.com/basic-auth.
- Manual header consideration. Use echo -n when encoding credentials. Plain echo adds a newline and breaks Base64 → silent 401 errors.
- Safer terminal use. Omit password (curl -u user <URL>) to get a prompt and avoid saving creds in shell history.
- Script readability. Prefer --user over -u.
- Special characters. Wrap credentials in single quotes if they contain @, &, !, $. Colons are fine after the first one.
- Security. Always use HTTPS since Authorization headers are plaintext over HTTP.
- Credential storage. Use environment variables for scripts, .netrc for repeated multi-host use.
- Unexpected 200 response. If you get a login page instead of data, the site likely uses session or JS auth → cURL won’t work.
- PowerShell note. Use curl.exe instead of alias. Replace /dev/null with NUL.
Understanding Basic Auth
Basic Auth is one of the oldest authentication schemes on the web, and its mechanics are straightforward enough to understand in a single pass. When a client makes a request, it takes the username and password, joins them with a colon as username:password, Base64-encodes the result, and attaches it to every request as an Authorization header.
That encoded string looks protected, but it isn't. Run echo 'cG9zdG1hbjpwYXNzd29yZA==' | base64 -d and you get postman:password straight back. Base64 translates the string into a format safe for HTTP headers – it does nothing to hide the contents. The actual protection comes from the transport layer, which is why HTTPS is mandatory here. Without it, anyone intercepting the request can decode the credentials instantly.
It's also worth separating 2 concepts that often get conflated: authentication and authorization. Authentication is the act of proving who you are, and cURL handles that by attaching the header, while authorization is the server deciding what that identity can actually do once it's verified. A 401 response means authentication failed, so the server didn't recognize the credentials. A 403 means authentication succeeded, but the server denied access anyway, so swapping in a different password won't change the outcome.
In practice, you'll encounter Basic Auth on legacy internal APIs and protected endpoints, simple data services, and web scraping targets that gate content behind a login wall.
cURL Basic Authentication Methods
cURL gives you several ways to send Basic Auth credentials, and the right choice depends on context – whether you're running a one-off terminal command, writing a script that will run in CI/CD, or debugging an auth failure against an API that isn't cooperating. All examples below use https://postman-echo.com/basic-auth with credentials postman / password.
The -u and --user flags
The most direct approach is the -u flag, which accepts credentials in username:password format and handles everything else automatically. Behind the scenes, cURL takes the string you pass, Base64-encodes it, constructs the Authorization: Basic <encoded> header, and attaches it to the request before it goes out – you never touch the header directly.
-u and --user are functionally identical. The long form is purely a readability choice – when someone reads a script six months later, --user is unambiguous in a way that -u isn't. For quick terminal use, -u saves keystrokes, but for anything that gets committed to a repo, --user is the better habit.
Omitting the password to trigger an interactive prompt
Passing only the username – without a colon or password – causes cURL to pause and ask for the password at runtime rather than reading it from the command.
The practical value here is shell history. A full curl -u postman:password command gets written to ~/.bash_history or ~/.zsh_history the moment your shell session ends, leaving the credentials readable by anyone with access to that file. Omitting the password and typing it at the prompt means cURL receives it directly, without it ever touching the command line. Use this pattern for any ad hoc terminal request where you'd otherwise type credentials inline.
Inline credentials in the URL (don't do this)
cURL also supports embedding credentials directly in the URL using the https://username:password@host format.
This produces the same authenticated request as -u, so it's worth knowing it exists – you'll encounter it in other people's scripts and documentation. The credentials end up in server access logs, proxy logs, and your shell history, which makes this pattern a liability. Some servers also strip the credentials before the request reaches the application layer, causing auth to fail silently in ways that are difficult to debug. The -u flag avoids both problems.
Combining Basic Auth with HTTP methods
A common misconception is that Basic Auth only applies to GET requests. The -u flag works identically regardless of the HTTP method, because cURL attaches the Authorization header to every request type. For a standard GET, credentials are the only addition needed:
See how to send a cURL GET request for full GET syntax.
A POST request with a JSON payload follows the same pattern – -u sits alongside the method and data flags without any conflict:
See how to send a POST request with cURL for POST-specific options.
Checking the response status without printing the body
When testing whether credentials are accepted, the pattern below returns only the HTTP status code rather than the full response body.
Each flag has a specific job. -o /dev/null discards the response body, -s suppresses the progress meter, and -w "%{http_code}\n" prints the HTTP status code followed by a newline once the request completes. A 200 means the credentials were accepted; a 401 means authentication failed. This is the fastest way to validate credentials without parsing a full API response.
For scraping gated endpoints, see how to do web scraping with cURL.
Constructing Authorization headers manually
cURL handles Base64 encoding automatically via -u. However, knowing how to do it yourself matters in a few specific situations, like when debugging a 401 to inspect the exact header value being sent, when working with a tool that doesn't support -u, or when validating that your request matches precisely what the server expects.
The -n flag: why it matters
The encoding step looks straightforward, but one detail causes problems consistently enough to be worth understanding before you run into it.
macOS/Linux:
Windows/PowerShell:
By default, echo appends a newline character (\n) to whatever string you pass it. When you pipe that output to base64, the newline becomes part of the string being encoded. Instead of encoding postman:password (15 characters), you're encoding postman:password\n (16 characters).
Base64 produces an entirely different output for those two inputs – cG9zdG1hbjpwYXNzd29yZAo= instead of cG9zdG1hbjpwYXNzd29yZA== – the server sees credentials that don't match anything it recognizes, and you get a 401 with no indication of what went wrong. The -n flag tells echo to suppress that newline, so only the credential string itself gets encoded.
You can verify both tokens against the live endpoint to see the difference directly.
macOS/Linux:
Windows/PowerShell:
Building the header
With the encoded string in hand, pass it directly via the -H flag:
See sending HTTP headers with cURL for the full -H syntax and how to combine multiple headers in one command.
Verifying what cURL actually sends
Running the request with -v prints the full request and response headers, making it straightforward to confirm the Authorization header is present and correctly formatted:
The outgoing header appears in the verbose output as shown below:
If the header is missing entirely, the -u flag didn't apply. If the header is present but the server still returns a 401, copy the encoded value and run echo '<value>' | base64 -d to decode it. A trailing newline in the encoding produces a string that looks correct at a glance – the length difference is invisible without decoding it – but the server rejects it every time.
Handling special characters in credentials
Auto-generated passwords almost always contain punctuation, and the shell interprets characters like $, !, @, &, and % before cURL ever sees them. The result is a malformed or truncated credential string that produces a 401 with no obvious cause. The fix is straightforward once you know which layer of the problem you're solving.
Single-quote wrapping
Single quotes tell the shell to treat everything inside literally, so $, !, @, &, and % all pass through to cURL untouched.
This handles the majority of auto-generated passwords, but the one case where it fails is when the password itself contains a single quote – switch to backslash escaping then.
The colon edge case
Colons in passwords are handled correctly by -u because cURL treats only the first : as the username/password separator. Everything after it, including any additional colons, passes through as the password.
Avoid URL-encoding colons as %3A when using -u. cURL passes the credential string to the server as-is after splitting on the first colon, so %3A would reach the server literally and break auth.
URL encoding for the URL-embedded format
When placing credentials directly in the URL (https://user:pass@host), the URL parser handles credential splitting rather than cURL. Characters that mark boundaries in a URL need to be percent-encoded so the parser reads them correctly.
Character
Encoded
@
%40
:
%3A
&
%26
%
%25
#
%23
This encoding requirement applies only to the URL-embedded format. With -u, the shell is the only layer that needs managing.
Recommended approach
Use single quotes with -u as the default – this covers $, !, @, &, %, and colons without any encoding. Switch to backslash escaping if the password contains a single quote, and reserve URL encoding for the URL-embedded format.
Using HTTPS for secure transmission
Because the Authorization header offers no encryption of its own, what travels over plain HTTP is a credential string any intermediary can read and immediately decode. That intermediary doesn't have to be an attacker – corporate proxies, cloud provider logging infrastructure, and debugging tools all capture HTTP traffic as standard practice. The exposure is routine, not theoretical.
TLS changes this by encrypting the entire request before it leaves the client. A network observer on an HTTPS connection sees the destination hostname and port, and nothing else – the headers, the body, and the credentials are all opaque until they reach the server.
See what is an SSL/HTTPS proxy for how TLS fits into proxy architectures.
Always use https:// in the target URL
The scheme in the URL determines whether the connection is encrypted before a single byte leaves your machine.
One pattern that catches developers out is relying on a server-side redirect to handle this. If the server returns a 301 from HTTP to HTTPS, the Authorization header has already been sent in cleartext during that initial request – before the redirect response arrives, and regardless of whether you use -L to follow redirects. The upgrade happens too late. Use https:// in the URL from the start.
How cURL handles TLS verification
cURL validates the server's SSL certificate by default, checking that it was issued by a trusted authority and hasn't expired. When that check fails – because the certificate is self-signed, expired, or issued by an unrecognized CA – cURL refuses the connection.
The -k / --insecure flag disables this check:
What -k actually does is remove the guarantee that you're talking to who you think you're talking to. TLS provides two things: encryption and authentication of the server's identity. Disabling certificate verification keeps the encryption but removes the identity check, which means a man-in-the-middle can present their own certificate and intercept the connection without cURL raising an error.
In a development environment with no real credentials, this is a reasonable shortcut. In production or CI/CD, it negates the protection you're relying on.
Self-signed certificates on internal APIs
Internal APIs often use self-signed certificates that cURL doesn't recognize by default, producing the same error as an invalid certificate. The right fix is to provide the CA bundle directly rather than disabling verification – this keeps the identity check intact while pointing cURL at the correct trust anchor.
Confirming the TLS handshake
Before sending credentials to any endpoint, use -v to verify the connection is genuinely encrypted. A successful TLS handshake produces output that includes these lines.
If these lines are absent, or show a certificate error, the connection isn't encrypted. Resolve it before sending credentials.
Securing credentials in cURL
Inline credentials are the fastest route to a credential leak. Three strategies cover the most common scenarios, ordered by the context they fit best.
Environment variables (for scripts and CI/CD)
Storing credentials as environment variables keeps them out of the command itself:
When the shell records this command, it writes the variable names rather than expanding them – so history stores curl -u "$POSTMAN_USER:$POSTMAN_PASS" … rather than the actual credentials. The expansion happens at runtime, after the command is logged.
One caveat worth knowing: on Linux, any process running as the same user can read another process's environment variables via /proc/<pid>/environ. On single-tenant machines or containers this is rarely a concern, but on shared infrastructure a dedicated secrets manager is the safer choice.
In CI/CD pipelines, inject secrets via the pipeline's native secret management rather than hardcoding them in scripts. GitHub Actions secrets, GitLab CI/CD variables, and similar systems expose secrets as environment variables at runtime, so the same pattern works unchanged:
One caveat: on Linux, any process running as the same user can read another process's environment variables via /proc/<pid>/environ. On single-tenant machines or containers this is rarely a concern, but on shared infrastructure a dedicated secrets manager is the safer choice.
The .netrc file (for multi-host setups)
.netrc stores credentials per hostname and lets cURL look them up automatically, keeping them out of the command entirely. The file defines a block per host:
Invoke it with the -n flag, and cURL reads the matching credentials without them appearing in the command at all:
For non-home-directory locations (useful in container environments) use --netrc-file with an explicit path:
Set permissions immediately after creating the file:
A world-readable .netrc is effectively a public password list. 600 restricts read and write to the file owner only, and this step is mandatory.
The limitation to understand is that .netrc stores credentials in plaintext on disk. It suits persistent multi-host setups where disk access controls are tight, but for ephemeral CI/CD environments environment variables are the cleaner option.
Shell history mitigation (for terminal use)
Commands with inline credentials get written to ~/.bash_history or ~/.zsh_history on session exit. Two approaches suppress this for a specific command.
A leading space before the command tells Bash not to record it, provided HISTCONTROL=ignorespace is set in your shell config:
Deleting the specific history entry removes it from in-memory history before it's written to disk:
For any ad hoc terminal request, the cleanest option remains triggering the interactive prompt with curl -u analyst https://... as covered in the methods section – the password never touches the command line at all.
Use case
Recommended approach
Ad hoc terminal
Interactive prompt (curl -u postman https://...)
Scripts and CI/CD
Environment variables
Persistent multi-host
.netrc
Comparing authentication methods
The right authentication method depends on what the API offers and what the use case demands. All three methods below work with cURL, but they solve different problems.
Basic Auth
Credentials are Base64-encoded and sent on every request. The appeal is simplicity – no token management, no expiry handling, and support across virtually every HTTP client and server. The tradeoffs are that credentials can't expire, can't be scoped to specific resources, and can't be revoked without a password change. Basic Auth suits internal tools, scripts, and simple API integrations where HTTPS is guaranteed and credential rotation is infrequent.
Bearer token / OAuth
Rather than sending credentials on every request, a token is obtained once – via a login endpoint or OAuth flow – and reused until it expires.
Tokens can expire on a schedule, be scoped to specific resources, and be revoked independently of the underlying password. Bearer tokens are the right choice for third-party APIs, any system where multiple consumers need different access levels, and any API that offers tokens alongside Basic Auth.
Digest Auth
Digest Auth uses a challenge-response scheme – the server sends a nonce, the client hashes the credentials with it, and sends back the hash. The password is never transmitted directly. cURL supports it with --digest:
This was designed for environments where HTTPS is unavailable but direct credential exposure still needs to be limited. In practice, you'll encounter it on older internal systems that explicitly require it. Where the server offers HTTPS and Bearer tokens, use those instead.
Decision summary
Basic Auth
Bearer token
Digest Auth
Credential exposure
Base64 (reversible)
Token only
Hash only
Expiry
None
Yes
Depends
Revocation
Password change
Token revoke
N/A
Complexity
Low
Medium
Low
Use when
Simple integrations over HTTPS
Modern APIs, multi-consumer systems
Server mandates it
Python developers: libraries like httpx and Requests handle all three methods with simpler syntax than cURL. See the best Python HTTP clients for web scraping for a comparison.
Troubleshooting authentication issues
Start every debug session with curl -v. It prints the exact headers sent and received, so you can confirm what's actually going out on the wire before changing anything else.
401 Unauthorized
The server received the request but authentication failed. Working through the following steps in order covers the most common causes.
- Confirm the credentials are correct by testing via a browser or another client
- Run curl -v and verify the outgoing Authorization header is present and correctly formatted
- If you built the header manually, re-encode with echo -n 'user:pass' | base64 and compare – the missing -n is the most common cause of a silent mismatch
- Check for special characters the shell may have interpreted before cURL received them; wrap credentials in single quotes and retry
403 Forbidden
Authentication succeeded – the server recognized the credentials and confirmed the identity – then denied access at the authorization level. The account lacks permission for that resource, so adjusting the credentials won't change the outcome. Check the account's access rights on the server side.
407 Proxy Authentication Required
The request reached a proxy that requires its own credentials before forwarding. Use -x for the proxy address and -U for proxy credentials alongside -u for the endpoint credentials.
See proxy authentication: user:pass authorization or IP-based whitelisting for how proxy credential schemes work.
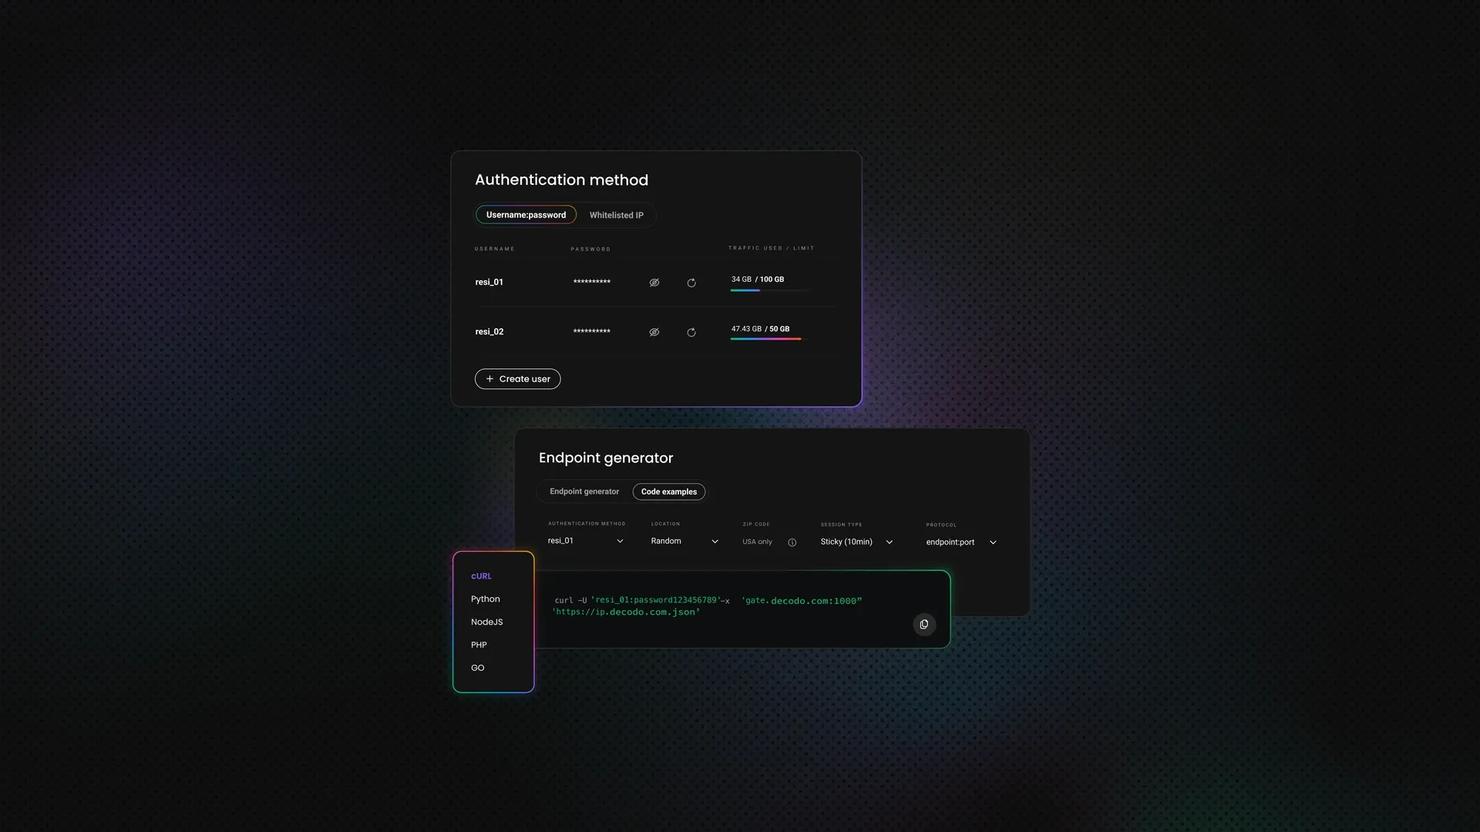
Managing proxy credentials per-request adds friction quickly, especially across rotating residential proxies where the authenticating host changes. Decodo residential proxies support both user:pass and IP whitelisting authentication at the proxy layer, which means the proxy handles auth transparently – your cURL command sends -u for the endpoint as normal, and the proxy connection is authenticated separately without additional headers per request.
See our comprehensive guide on using proxy with cURL for full proxy routing options.
200 response, but the body is a login page
cURL reports success and the status is 200, but the response contains an HTML login form or an empty object rather than the expected data. This means the endpoint isn't using Basic Auth to gate content – the Authorization header is accepted but ignored, and the server is relying on a different authentication mechanism entirely.
Two patterns produce this symptom. Session-based auth requires a form login that sets a session cookie – the server expects subsequent requests to carry that cookie, not an Authorization header. JavaScript-rendered auth goes further: the login flow depends on a browser executing JS before credentials can even be submitted, which means the authentication state is never reachable via a plain HTTP request.
Both patterns require a browser-capable tool, and the credentials themselves are correct – the authentication mechanism is the mismatch.
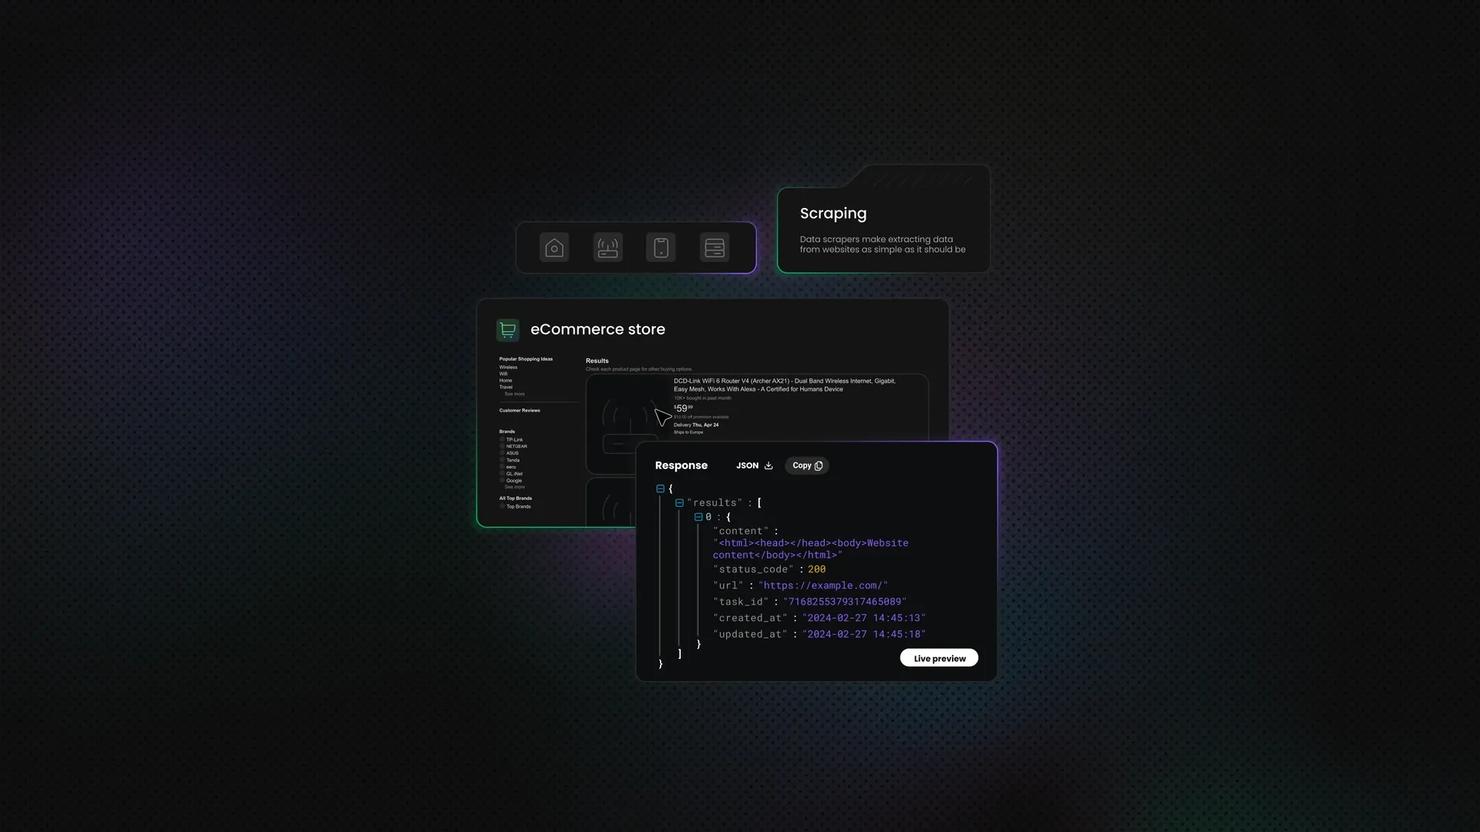
For these targets, Decodo's Web Scraping API is built specifically for the scenarios cURL can't reach. Rather than rewriting your extraction logic around a browser driver, Decodo handles the authentication challenge, executes the JavaScript rendering, and manages the session state – then returns the content you're after.
The practical difference is that you send a request describing what you need rather than orchestrating the browser interactions required to get there.
Skip the boilerplate
Web Scraping API handles CAPTCHAs, rotates proxies, and evades anti-bot systems so your requests succeed.
Best practices and security recommendations
- Always use HTTPS. Basic Auth over plain HTTP exposes credentials to any network observer, and as covered earlier, Base64 is trivially reversible. If the server doesn't offer HTTPS, treat the connection as insecure and avoid sending real credentials over it.
- Never hardcode credentials in scripts. Use environment variables or .netrc instead, and commit neither to version control. Add .netrc to .gitignore and rotate any credentials that have appeared in a repo's history – once a secret is committed, assume it's compromised.
- Use the interactive prompt for one-off terminal commands. curl -u username https://... keeps credentials out of shell history with no extra steps. If you do type credentials inline, delete the history entry before your session ends.
- Set .netrc permissions to 600 immediately after creation. A world-readable .netrc carries the same risk as a public password file. Don't create the file and set permissions later – do it in the same step.
- Rotate credentials regularly. Basic Auth has no token expiry, so rotation is the only mechanism that limits the window of exposure if credentials are compromised. Revocation requires a password change on the server side, which makes a leaked Basic Auth credential more disruptive to fix than a leaked token.
- Prefer Bearer tokens where the API offers them. Token scoping limits what a credential can access, expiry limits how long it's valid, and revocation is clean – none of which Basic Auth can provide. If the API supports both, Bearer tokens give you meaningfully better access control.
- Audit CI/CD pipelines for hardcoded credentials. Check scripts, Dockerfiles, and environment files. Hardcoded credentials in a pipeline are often the last place developers look and the first place they appear in breach reports. Use the pipeline's native secret management – GitHub Actions secrets, GitLab CI/CD variables, and equivalents – so values are injected at runtime rather than stored in the codebase.
- In scraping workflows, route requests through an encrypted proxy. Sending credentials from your origin IP ties authentication directly to your infrastructure. Proxies break that link – but only if the proxy connection itself is encrypted, otherwise you've moved the exposure rather than removed it.
Final thoughts
At this point you can send Basic Auth credentials across every cURL syntax variation, construct Authorization headers manually when the situation calls for it, handle special characters without shell interpretation errors, and choose between Basic, Bearer, and Digest Auth based on what the API actually requires.
The credential management patterns – environment variables, .netrc, and history mitigation – cover everything from a one-off terminal command to a production CI/CD pipeline. For more on cURL and web data collection, Decodo's guides cover proxy routing, header management, and full scraping workflows.
About the author

Vilius Sakutis
Head of Partnerships
Vilius leads performance marketing initiatives with expertize rooted in affiliates and SaaS marketing strategies. Armed with a Master's in International Marketing and Management, he combines academic insight with hands-on experience to drive measurable results in digital marketing campaigns.
Connect with Vilius via LinkedIn
All information on Decodo Blog is provided on an as is basis and for informational purposes only. We make no representation and disclaim all liability with respect to your use of any information contained on Decodo Blog or any third-party websites that may belinked therein.