How to use a proxy with Ruby: configure, authenticate, and rotate with Net::HTTP and Faraday
As a Ruby developer, you must have used proxies for multiple applications, including web scraping, API integration, and geo-targeted testing. Without a proxy, every request leaves from the same IP, which is the fastest way to get rate-limited or blocked. In this guide, you'll learn how to configure a Ruby proxy with Net::HTTP and Faraday, add authentication, rotate IPs, and connect Ruby applications to Decodo residential proxies.
Justinas Tamasevicius
Last updated: Jun 26, 2026
7 min read

TL;DR
- A Ruby proxy routes your app's requests through an intermediary server, so the target site sees the proxy IP instead of your real one.
- Net::HTTP ships with Ruby, so no install is needed, while Faraday is a separate gem you add with gem install faraday or via Bundler.
- Faraday offers middleware, JSON parsing, and adapter options. Proxy settings attach to the connection, not to each request, so use separate connections for different proxies.
- Rotate IPs to avoid detection. Random selection works for quick runs, but round-robin or weighted rotation distributes traffic better. The article includes a reusable ProxyRotator class with failure tracking and retries.
- Best practices include setting timeouts on every request, retrying temporary failures with backoff, choosing the proxy type based on the target, using realistic request headers, and switching to browser automation like Playwright or Selenium when an HTTP client isn't enough.
- Keep credentials out of your code by reading them from environment variables with ENV.fetch, or by setting standard http_proxy and https_proxy variables.
What is a proxy and why use one with Ruby?
A proxy server sits between your Ruby application and the website or API you want to access. Instead of your app connecting directly to the target server, it connects to the proxy first. The proxy then forwards the request and returns the response. The target only ever sees the proxy IP, so your real one stays hidden the whole way through.
That extra hop gives you more control over how your requests appear on the web. For Ruby developers, proxies are useful when you need to:
- Hide your IP address or location
- Access resources that are blocked by a firewall or network restrictions
- Reduce IP-based rate limits.
- Improve performance by caching requests
- Improve web scraping reliability
- Access geo-blocked content
For most Ruby projects, you’ll work with HTTP(S) proxies. They’re built for web traffic and work well with common Ruby HTTP clients like Net::HTTP and Faraday.
You may also come across SOCKS proxies. They operate at a lower network level and can route more traffic types, but Ruby’s standard HTTP tooling doesn’t cleanly support SOCKS out of the box. If you want a deeper breakdown, our guide on SOCKS5 vs. HTTP proxy does that very well.
You’ll also need to choose the right proxy type for the job. Datacenter proxies are usually the better fit for fast, simple, high-volume requests where the target doesn’t apply strict traffic checks. Residential proxies are more useful when your Ruby script is dealing with rate limits, geo-restricted pages, or anti-bot systems that look closely at where requests come from.
That’s because residential proxies route traffic through actual user-device IPs, which helps requests look closer to regular web traffic. Mobile and ISP proxies also exist for more specific use cases, but they are also very effective against anti-bot systems.
Setting up your Ruby environment
You don’t need much to follow this tutorial, but you need to know what to install, where to get credentials, and how to pass them into your code securely.
We recommend Ruby 3.0+. You can check your installed version with:
Net::HTTP ships with Ruby by default as a library, so you don’t need to run any extra installs. Faraday is a separate gem, so you’ll have to install it directly. To do this, run:
This command installs Faraday globally for the active Ruby version on your machine.
For a project setup, you want to use Bundler instead. The Gemfile is the file Bundler uses to track your project's Ruby gem dependencies:
Open the generated Gemfile and add Faraday as a project dependency:
After saving the Gemfile, install the project dependencies with :First, create a project folder and move into it:
Then, initialize a new Bundler project to generate a Gemfile.
Bundler installs the dependencies listed in the Gemfile and records the resolved versions in Gemfile.lock. To keep things simple, create a single Ruby file:
You can test proxy connectivity with an IP echo endpoint to confirm proxy behavior. When the proxy works, the response shows the proxy exit IP and location instead of the local machine IP.
Using a proxy with Net::HTTP
Ruby provides a built-in library called Net::HTTP for making HTTP requests, much like Python’s Requests. It’s a good starting point because it requires no external dependencies. The basic constructor is Net::HTTP.new(host, port, proxy_host, proxy_port).
The first 2 arguments describe the target website, then the third and fourth arguments describe the proxy server.
Here's a really simple example of how you can use a proxy with Net::HTTP:
This script sends a request to an IP echo service through the proxy. The proxy host and port should be replaced with the endpoint supplied by the proxy provider. Every request made through this http instance now travels through that proxy.
If all goes well, you should see a response like:
For HTTPS targets, set use_ssl to true:
This version uses the same proxy pattern, but the target URL starts with https. Setting use_ssl tells Net::HTTP to open a connection tunnel through the proxy and negotiate TLS with the destination server.
Proxies add another network hop, so a slow or unavailable proxy can make a script hang. To mitigate this, we can add timeouts and basic error handling to our script:
open_timeout controls how long Ruby waits to establish the connection, while read_timeout controls how long it waits for the response after connecting. The rescue block catches the most common proxy failures and prints a readable message instead of crashing straight away.
Avoid blocks with residential proxies
Access 115M+ ethically-sourced residential proxies across 195 locations. Get past CAPTCHAs, geo-restrictions, and IP bans on infrastructure that delivers a 99.92% success rate and a <0.5s response time.
Configuring authenticated proxies in Ruby
Most proxy providers don't let you connect anonymously. Rather, they require a username and password so they can tie traffic to your account.
Net::HTTP accepts these as the fifth and sixth arguments to the constructor:
This creates an HTTP client instance that sends proxy authentication details when connecting through the proxy. If the credentials are wrong or missing, the proxy may return a 407 Proxy Authentication Required error.
You can also set the credentials after creating the instance with http.proxy_user and http.proxy_pass. Faraday handles authentication differently. You embed the credentials directly in the proxy URL string when you initialize the connection. If there are any special characters in usernames and passwords, they should be URL-encoded before building that URL:
Note that plain credentials should stay outside the source code. This would lead us into the next section, so we can see how to properly use environment variables in our setup.
Using environment variables for proxy configuration
Ruby can read proxy settings from environment variables, which keeps credentials out of your source code. There are two common ways to do this:
The first approach is to store each proxy value separately, then read them inside your Ruby script with ENV.fetch. This works well when you want to pass the proxy credentials directly into Net::HTTP or Faraday.
Set the values in your shell like this:
Then read them in Ruby:
The second approach is to use standard proxy environment variables such as http_proxy and https_proxy. To do this, simply define the full proxy URL in the environment and let Ruby’s networking layer discover it.
Set them in your shell like this:
With this setup, Net::HTTP can pick up the proxy automatically when using its environment proxy behavior.
A local .env file can also work when paired with a loader such as dotenv, but that file should stay out of version control. In production, use your deployment platform’s secrets or environment variable settings to avoid committing your proxy credentials to the codebase.
There's also a useful companion variable called no_proxy. It accepts hosts that should bypass the proxy, such as localhost, 127.0.0.1, or internal services.
This is handy for keeping internal or local traffic off your metered proxy connection.
Using a proxy with Faraday
Faraday is a flexible Ruby HTTP client with middleware support, JSON parsing, request configuration, and adapter options. Its adapter-based approach means the request code can stay mostly the same even if the underlying HTTP library changes. By default, Faraday uses the Net::HTTP adapter, but Ruby applications can also use adapters such as Excon, Typhoeus, Patron, or EventMachine.
The proxy configuration also stays attached to the Faraday connection, so the higher-level request code remains clean.
The f.response :json line adds JSON parsing middleware, so response.body comes back as a Ruby hash instead of a raw JSON string.
One important Faraday detail is that proxy settings belong to the connection. They are configured when Faraday.new runs, not on each individual request. If different requests need different proxies, create separate Faraday connections for each proxy.
Note that Faraday is still an HTTP client, not a browser automation tool. So, for websites that require browser rendering or JavaScript execution, using browser automation tools like Playwright or Selenium may be more effective.
Using an authenticated proxy with Faraday
Authenticated proxies work the same way, only that the username and password are added to the proxy connection string.
If your credentials or passwords contain symbols, we recommend encoding them before passing them along to the proxy_url.
Rotating proxies in Ruby to avoid detection
Sending every request through the same IP is a surefire way to get flagged. If every request uses the same address, that IP can hit rate limits, trigger blocks, or return results tied to one location. Anti-bot systems also look at timing and request volume before drawing any conclusions about your request.
IP rotation spreads requests across multiple proxies so one IP doesn’t carry the whole workload. The simplest way to rotate IPs is via random selection. You can put all the proxies in a list, and then randomly choose one before each request:
This might be enough for a quick run because it immediately moves traffic away from a single fixed proxy, but it's far from suitable for production use.
The downside is that random selection can choose the same proxy several times in a row or keep using proxies that have already failed, which leaves the rest of the pool underused.
Round-robin rotation guarantees a more even distribution by walking through the list in order. Weighted rotation goes further by preferring proxies with fewer failures or better performance. A good proxy rotator can also remove dead proxies from the pool.
Here is a reusable ProxyRotator class:
After setup, next_proxy returns the proxy that should handle the next request. report_failure increments the failure count for a proxy and removes it after 3 failures, so the script stops wasting requests on dead endpoints. The mutex keeps selection and failure tracking consistent when multiple workers share the same rotator.
Rotation also needs pacing. Pass the selected proxy into Net::HTTP or Faraday before sending the request, then wait a short randomized interval before the next one:
This pauses the script for a random interval between 2 and 5 seconds. Failure handling is the other half of rotation. When a proxy times out or refuses a connection, report the failure to the rotator and retry with another proxy instead of stopping the whole run.
This is a more robust example:
This method asks the rotator for a proxy, builds a Net::HTTP request through that proxy, and retries temporary connection failures. Each retry waits longer than the previous one, which reduces pressure on both the proxy and the target. If one proxy keeps failing, report_failure moves it closer to removal from the pool.
Now, managed proxy services reduce that overhead by handling pool quality, rotation, and location routing outside the Ruby application. If you want to compare managed options, check out our guide on the top rotating proxy service providers.
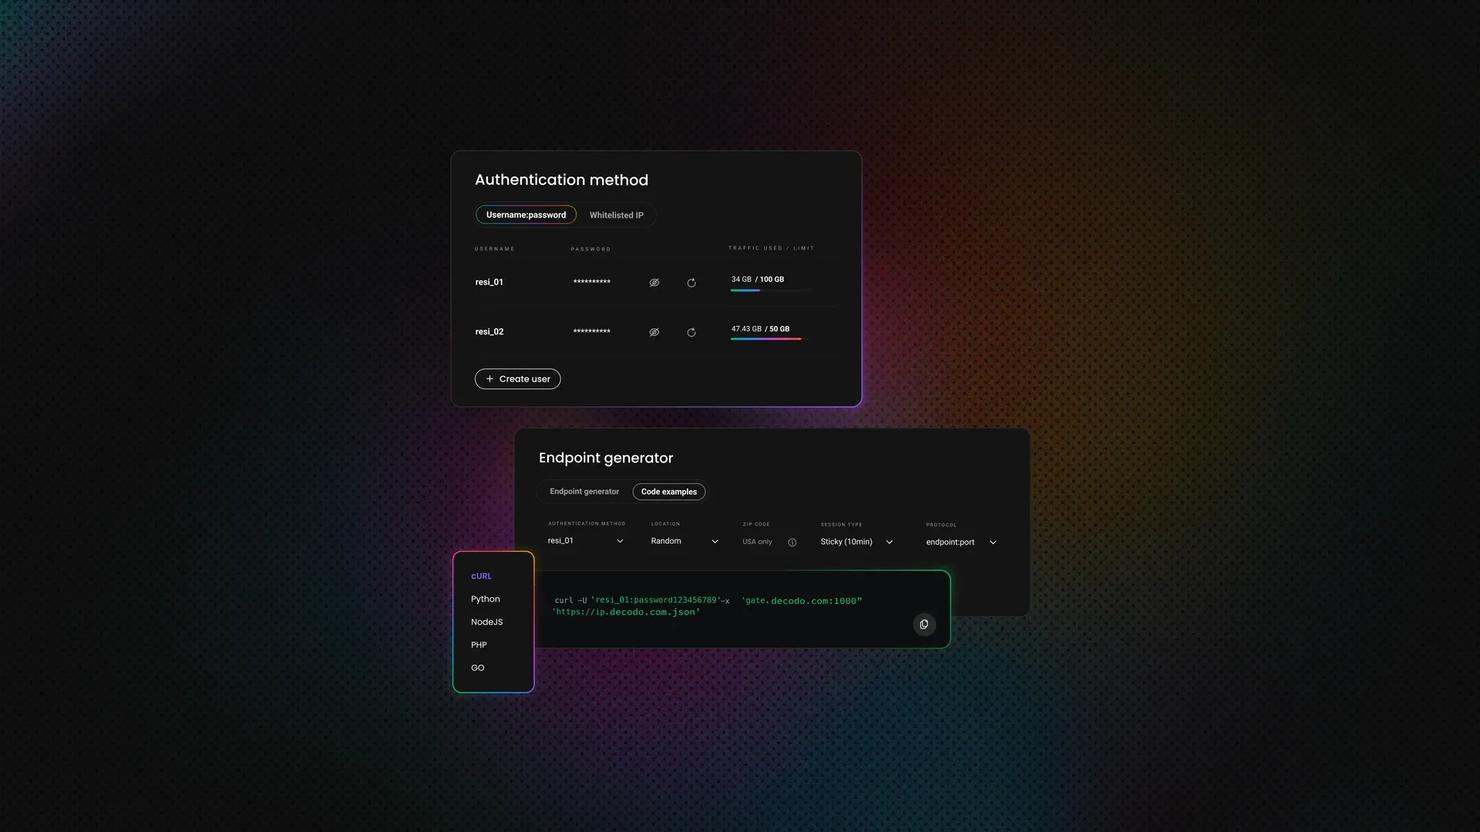
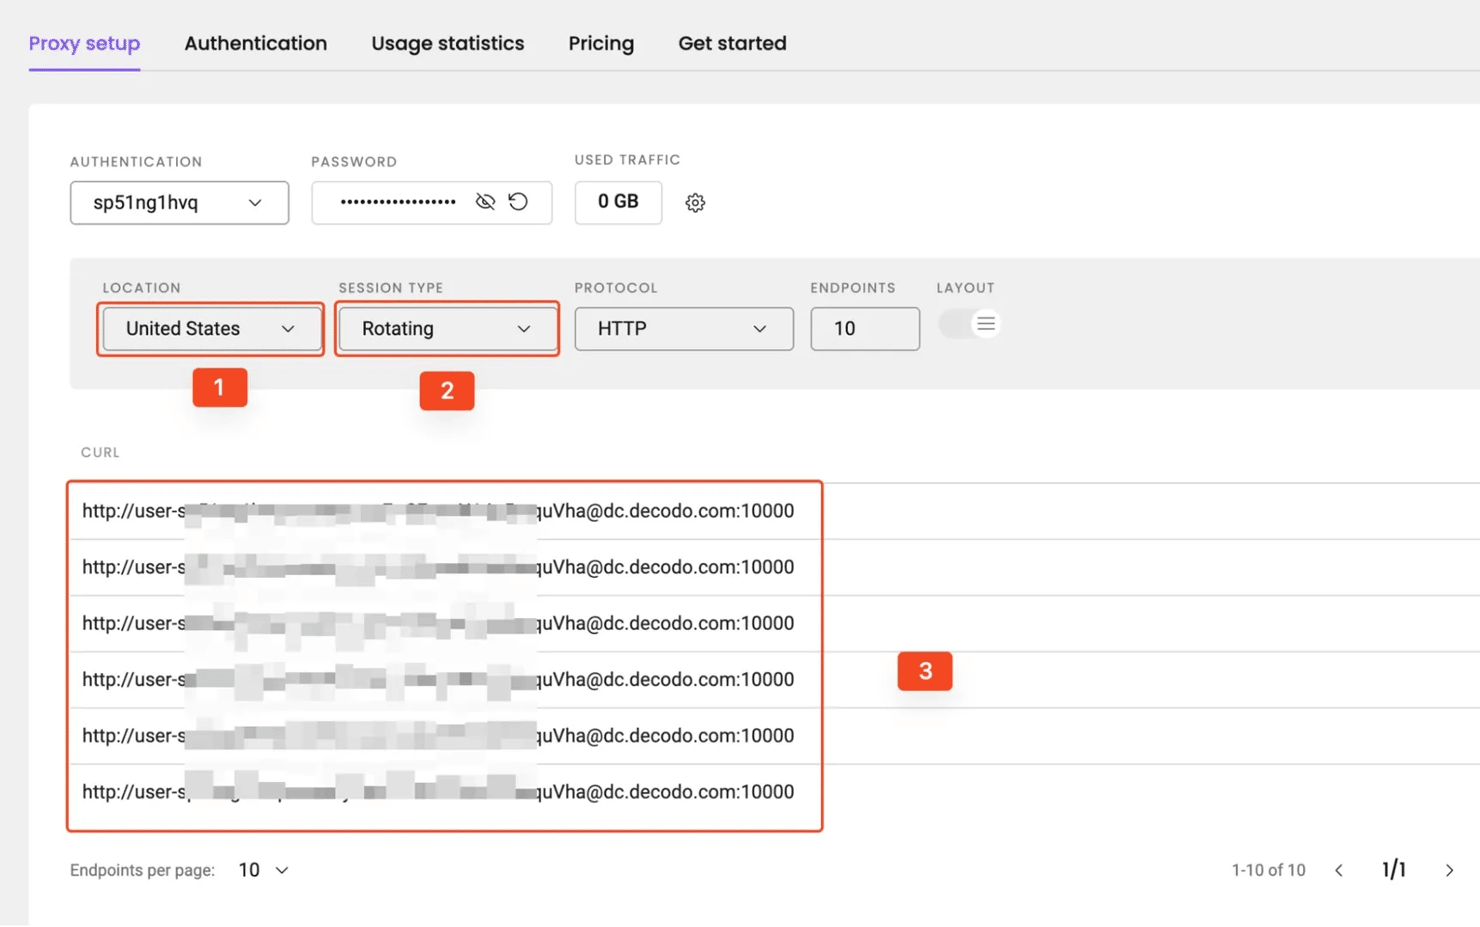
Integrating Decodo proxies with your Ruby application
Decodo gives Ruby teams a cleaner way to use proxies without managing a proxy pool manually. Instead of sourcing and rotating IPs yourself, its infrastructure handles IP selection, rotation, geo-targeting, and pool management for you.
To get started, log in or create an account, and claim your residential proxy free trial to follow along.

Now, let’s modify our Net::HTTP setup from earlier to point at Decodo's endpoint with your credentials:
Note: Replace these placeholder values with your actual Decodo credentials.
Faraday setup is even shorter because you embed the credentials in the proxy URL, and the JSON middleware parses the response:
You might have noticed none of these examples uses the ProxyRotator from the previous section. That’s because they don’t need to. You can easily handle rotation frequency or geolocation from your Decodo dashboard, and the gains are even more noticeable at scale.
Best practices and troubleshooting
Set timeouts on every request
Always set open_timeout and read_timeout. Proxies add latency, and sometimes a slow proxy can freeze the whole script.
Retry temporary failures with backoff
A timeout, dropped connection, or refused connection shouldn’t stop a whole scraping job. Retry a few times, wait longer between attempts, and switch proxies when the same endpoint keeps failing.
Read connection errors carefully
A connection refused error usually means the host, port, endpoint, or local network rule is wrong. For instance, a 407 Proxy Authentication Required response usually points to missing, wrong, or badly encoded credentials.
Choose the proxy type based on the target
Residential proxies fit stricter websites and location-sensitive content. Datacenter proxies fit fast requests against simpler targets. ISP proxies are useful when a project needs stable sessions and stronger trust than standard datacenter IPs.
Use realistic request headers
A proxy changes the IP address, but it doesn’t make the full request look like browser traffic. Set a realistic User-Agent and include normal browser-like headers when scraping websites. For tougher defenses, see our guide on how to bypass CAPTCHAs.
Use browser automation when HTTP clients aren’t enough
Net::HTTP and Faraday are good for direct HTTP requests, but if your target requires dynamic rendering, browser-automation tools like Selenium may be more reliable.
Bottom line
In this article, you learned how to use proxies in Ruby with Net::HTTP and Faraday. You also saw how to configure authenticated proxies, rotate proxy endpoints, and integrate Decodo proxies into your Ruby applications.
If you don’t want to maintain proxy pools yourself, Decodo residential proxies give you a single gateway for rotating IPs, location targeting, and more reliable request routing.
Get residential proxies
Plug 115M+ from 195 locations residential proxies straight into your Ruby-powered pipelines to scale your projects in the most efficient way possible.
About the author

Justinas Tamasevicius
Director of Engineering
Justinas Tamaševičius is Director of Engineering with over two decades of expertise in software development. What started as a self-taught passion during his school years has evolved into a distinguished career spanning backend engineering, system architecture, and infrastructure development.
Connect with Justinas via LinkedIn.
All information on Decodo Blog is provided on an as is basis and for informational purposes only. We make no representation and disclaim all liability with respect to your use of any information contained on Decodo Blog or any third-party websites that may belinked therein.