Browser-use: Step-by-Step AI Browser Automation Guide
Browser-use is a Python library that lets an AI agent control a real browser – navigating dynamic pages, submitting forms, and extracting structured data without brittle selectors. Unlike traditional headless browser setups wired to rigid rules, it reasons with what it sees and adapts. By the end of this guide, you'll have a working agent scraping product data, interacting with web apps, and handling failure scenarios.
Dominykas Niaura
Last updated: Apr 17, 2026
10 min read
What are AI agents and how does Browser-use fit in?
A traditional automation script follows fixed steps: click this selector, wait for that element, extract this text. When the page changes, the script breaks. An AI agent works differently – it receives a description of the current page state, reasons about what it sees, and decides which action to take next.
Browser-use is an AI agent library that uses Playwright as its browser control layer. In practice, Browser-use feeds the current page state to an LLM, which decides what to do next, then executes that decision directly in a real browser: click, type, scroll, extract. Playwright handles the browser mechanics under the hood, so the agent is always the one driving.
This workflow makes Browser-use reliable on JavaScript-heavy pages with cookie banners, login flows, or layouts that shift between visits. Where a CSS-selector scraper would break, the agent reads what's on the page and adapts.
On the model side, Browser-use works with the most widely used LLMs out of the box. Some of the most common choices include Anthropic Claude, OpenAI GPT-4o, and Google Gemini, but many other models may be easily adapted to work too, so you're not tied to a single provider. For teams looking to go further, the AI agent orchestration guide covers chaining Browser-use into larger automated workflows.
Prerequisites and project setup
Before writing any agent logic, you need a working environment with the right Python version, dependencies, and project structure in place.
Environment setup
Browser-use requires Python 3.11 or higher. If you're on an older version, upgrade before continuing. Once you're on 3.11+, create a virtual environment to keep your dependencies isolated:
If you prefer Poetry for dependency management, it works equally well here. Then, install the core dependencies:
After installation, fetch the Chromium browser binary that Playwright uses:
LLM API key
Browser-use needs an LLM to drive the agent's decisions. The examples in this guide use Anthropic Claude. Head to platform.claude.com, generate an API key, and store it in a .env file at the root of your project:
Boilerplate script structure
Every Browser-use agent follows the same minimal pattern. Here's the starting point:
The Agent class takes a task string and an LLM instance. Meanwhile, asyncio.run() handles the async execution. That's the entire skeleton – everything else builds on top of it.
Browser customization
Browser-use exposes a BrowserConfig class for controlling how the browser behaves. The most useful options during development are pointing the agent at a local Chrome installation, toggling headless mode, and setting the viewport:
Using a local Chrome instance is worth doing early on – it'll already have saved sessions and cookies, which makes testing against login-gated pages much smoother. Run headless in production once your tasks are reliable.
Suggested project structure
Keeping configuration and task logic separate from the start saves time later.
If you hit setup issues along the way, the Python errors and exceptions guide covers the most common failure patterns, and the guide to running Python in the terminal is a useful reference if you're newer to the command line.
Setting up and using the Browser-use web UI
Browser-use ships with an official web UI – a Gradio-based interface that lets you run agent tasks without writing any Python. It's useful for rapid prompt prototyping and accessible to non-developers who want to test automation tasks without touching code.
Installation
Start by cloning the web UI repository:
Install the requirements:
Then copy the example environment file and add your API key:
Open .env and add your ANTHROPIC_API_KEY. If Playwright throws a "browser binary not found" error at this stage, run playwright install chromium to resolve it.
Configuration options
The UI exposes several settings directly in the interface.
- Maximum steps – the number of actions the agent will attempt before stopping. Start high during testing, tighten once your prompt is reliable.
- LLM model and temperature – select your model and adjust how deterministic the agent's decisions are. Lower temperature produces more consistent behavior.
- Browser visibility – toggle between headed and headless mode directly from the UI.
- Session recording – the agent saves a GIF of every session to agent_history.gif in the project root. This is the fastest way to diagnose unexpected behavior.
Running a task
Start the server with the following command:
Navigate to http://127.0.0.1:7788 in your browser, and you’ll see this:
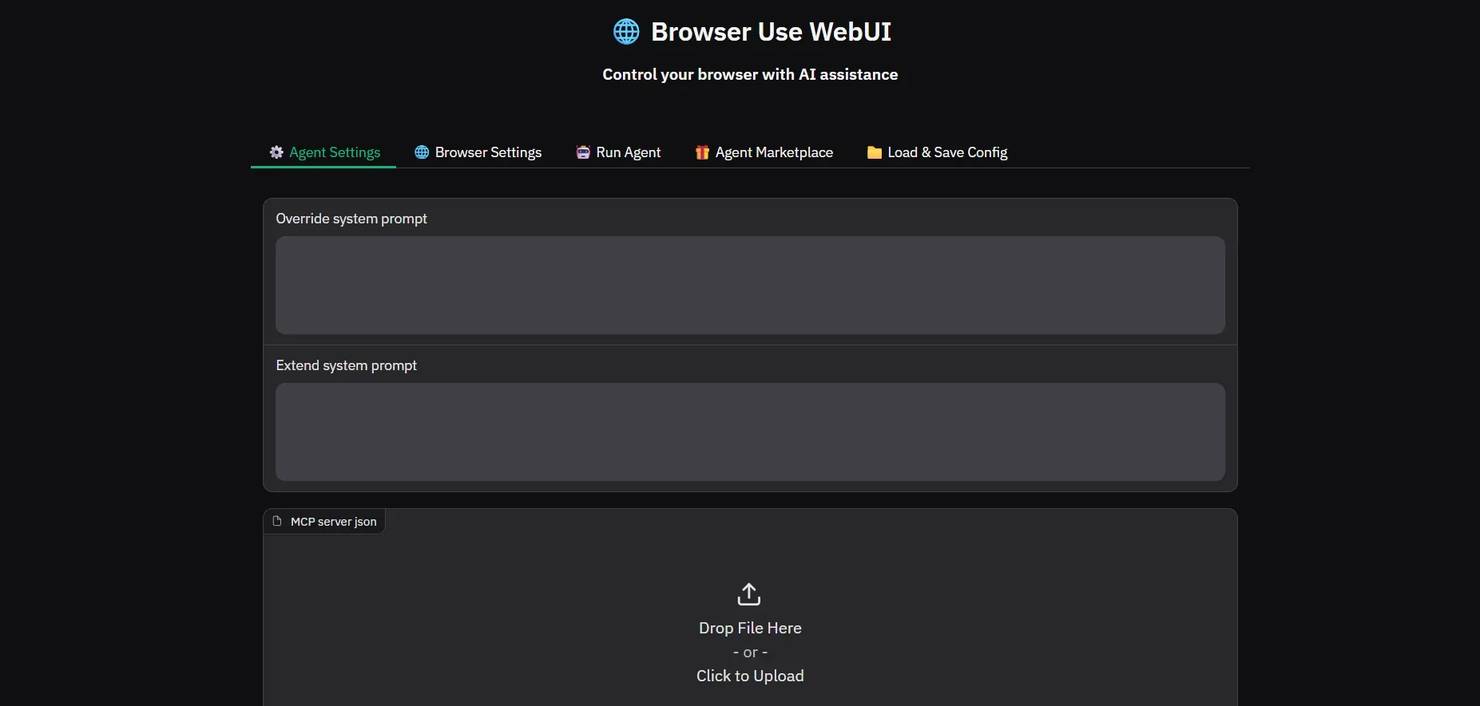
Open the Run Agent tab, enter your prompt, and click Run Agent.
To see it in action, try a simple public example: ask the agent to find the current price of a specific product on books.toscrape.com and return a formatted summary. It requires no login, produces a clear output, and gives you an immediate sense of how the agent interprets and executes a natural language instruction.
Once the task completes, review the output in the UI and open agent_history.gif to watch a replay of every action the agent took.

Running a task through the UI quickly reveals how much prompt quality matters. Let’s see how to write prompts that produce reliable, consistent output.
Writing effective prompts for AI browser agents
Prompt quality has a bigger impact on Browser-use reliability than most developers expect. A traditional script is explicit by design – every step is hard-coded. A Browser-use agent infers what you mean from natural language, which means a vague instruction produces inconsistent behavior. The agent's decisions are only as good as the information it's given.
Structural principles
How you structure a prompt determines how reliably the agent executes, because vague instructions get interpreted while precise ones get followed. The following principles apply whether you're scraping a single page or chaining a multi-step workflow.
- Start with a named objective. Before listing steps, state what the task is meant to accomplish. This gives the agent a goal to orient toward if it gets confused mid-task.
- Break complex tasks into numbered steps. Each step should correspond to 1 discrete browser action: navigate, find an element, click, extract, verify. Combining multiple actions into a single step increases the chance of the agent skipping one.
- Add verification checkpoints. After critical actions, tell the agent to confirm the result before continuing. "Verify that at least 1 product listing is visible before extracting data" prevents the agent from running extraction logic against an empty page.
- Define failure behavior explicitly. Left without instructions, the agent will improvise when something goes wrong. Specify what it should do instead: log an error and stop, retry up to N times, or skip the step and continue.
- Be precise about element references. "The search box" is ambiguous. "The search input in the top navigation bar with a magnifying glass icon" is not. The more specific your reference, the less room there is for misinterpretation.
The principles above are easier to apply with a consistent structure to build from. Not every task needs every field, but starting with all of them and removing what's unnecessary is faster than debugging a prompt that was missing something from the start.
The template below covers the 5 components a reliable Browser-use prompt needs – objective, context, steps, error handling, and output format:
Before and after
Let’s look at some practical examples. Here's a vague prompt:
This gives the agent no guidance on how many books to extract, what fields to include, how to handle pagination, or what to do if the page structure changes. The output will vary between runs.
Now here's what a revised prompt would look like:
The difference isn't just length. The objective gives the agent something to recover toward if it loses its place. The numbered steps eliminate ambiguity about sequencing. The null instruction means a missing field produces clean data rather than a crashed run. And the error handling clauses mean the agent stops predictably when something goes wrong, rather than improvising in ways you can't anticipate. Every addition removes a decision the agent would otherwise make on its own – and those improvised decisions are where inconsistent output comes from.
For readers interested in LLM-assisted scraping more broadly, the guides to Claude web scraping or ChatGPT web scraping cover complementary approaches, and the LangChain end-to-end workflows article goes deeper on building LangChain-based automation pipelines.
Practical use cases: step-by-step examples
With the prompt principles in place, the examples below apply them to 3 distinct tasks – product data extraction, multi-step web app interaction, and stock monitoring. Each includes a full prompt and the code to run it.
Scraping product listings and saving to JSON
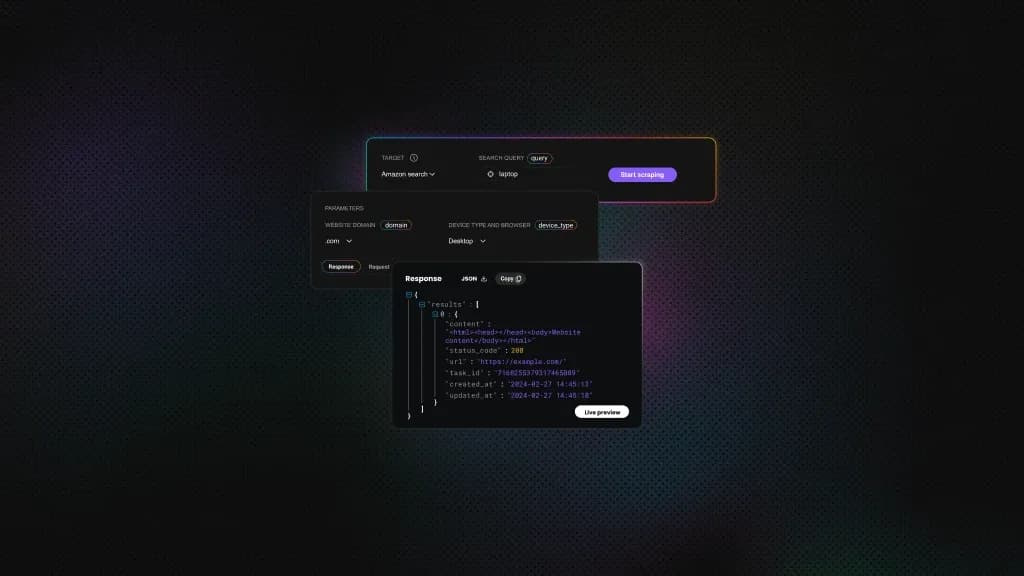
The target here is books.toscrape.com, a public sandbox e-commerce site built for scraping practice. The task is to extract title, price, star rating, and availability for the first 10 results, then write the output to a local JSON file:
The resulting JSON will look like this:
For more on handling and storing scraped output, the guide to saving scraped data covers the main storage patterns in depth.
Single-site extraction is a good starting point, but Browser-use's real advantage shows up when a task spans multiple sites and requires the agent to carry state between them.
Summarizing content and creating a task card
Task: Visit a public GitHub issues list, summarize the 3 most recent open issues, then log into a project management tool and create a card with the summary.
This is where Browser-use is ahead of traditional scraping most clearly. A CSS-selector script would require separate, site-specific logic for each site – and would break independently whenever either site updates its layout. A Browser-use agent handles both in a single task description:
Note: Store credentials in your .env file and load them with python-dotenv. Never hardcode login details in the task string or script.
The previous 2 use cases run once and return a result. The monitoring pattern below is designed to run repeatedly, checking for a condition and acting on it when it's met.
Stock monitoring and alerting
Task: Check a product page for stock status. If the item is in stock, write a formatted alert to a local file.
Run this on a schedule using cron or a task scheduler to build a basic restock monitor. The same pattern applies to price tracking – adjust the extracted field and alert condition accordingly. For sites with aggressive bot detection, routing the agent through a residential proxy is the most reliable way to keep sessions running cleanly – more on that in the next section.
For combining Browser-use with traditional extraction logic, the AI web scraping with Python guide covers the overlap in detail.
Managing errors and agent failures
The use cases above assume clean runs. In practice, pages change, networks drop, and agents occasionally misread what's in front of them. Building in error handling from the start is what separates a demo from something you can actually run on a schedule.
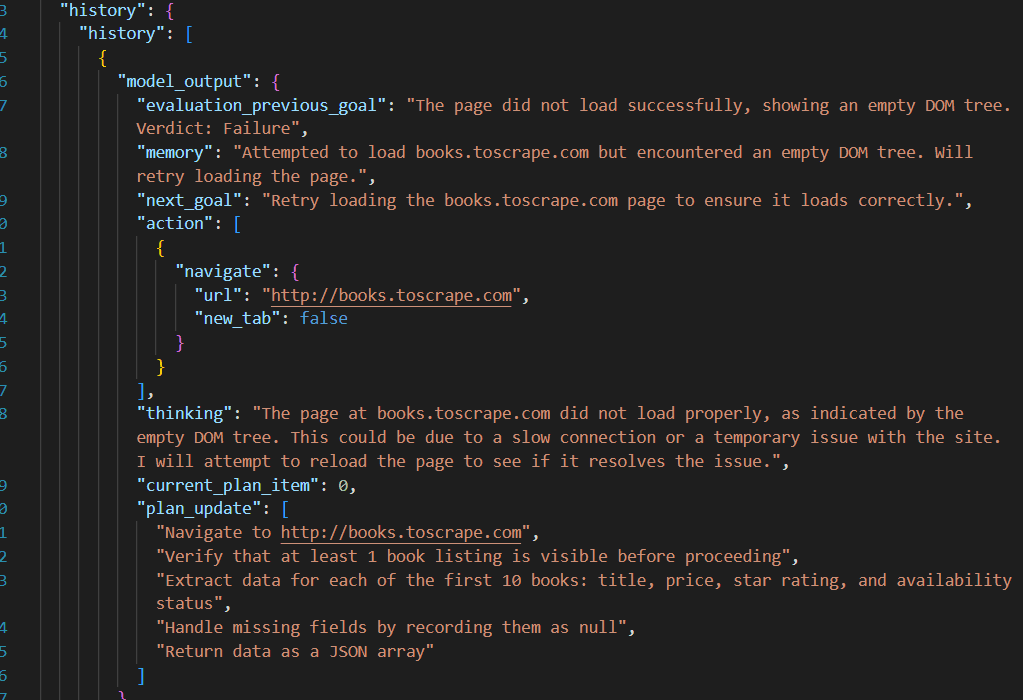
Browser-use agents fail for predictable reasons – the LLM misinterprets an element reference, the page structure shifts between the perception step and the action step, or a network timeout cuts the session short. In other cases, the agent simply runs out of its configured maximum steps before finishing the task. Knowing which failure mode you're dealing with makes debugging significantly faster.
Prompt-level error handling
Always include explicit failure instructions in your prompt. Left without them, the agent will improvise – and the improvised behavior is rarely what you want.
- Tell the agent what to do when an element isn't found: "if the element is not found, log an error and stop execution."
- Add retry instructions for expected transient failures: "if the page fails to load, retry up to 3 times before stopping."
- Verify critical actions before moving on: "confirm that the form was submitted successfully before proceeding to the next step."
Code-level error handling
Wrap agent.run() in a try/except block so unexpected exceptions don't crash your process silently:
The max_steps parameter caps how many actions the agent can take before stopping. Set it generously during development, then tighten it once the task is reliable. Without it, a confused agent can run indefinitely.
To prevent hung sessions, set a timeout at the browser context level using BrowserContextConfig:
Browser-use records the agent's full action history internally. Logging it after a failure gives you a step-by-step trace of what the agent did before things went wrong:
Practical debugging tips
Run new tasks in headed mode first. Watching the agent navigate in a visible browser window makes it immediately obvious when it clicks the wrong element or gets stuck on a banner. It's the fastest debugging tool available.
Start with a high max_steps value – 50 or more – during development. Once the task completes reliably, reduce it to something tighter. Test prompts incrementally too: verify each step works before adding the next one.
The Python errors and exceptions guide covers exception handling patterns in more depth, and the Python requests retry guide is a useful background for the retry logic pattern.
Using proxies with Browser-use for scalable automation
Solid error handling keeps your agent running cleanly on a single site. Proxies are what keep it running cleanly at scale – across many sessions, against sites that actively look for bot traffic, or when you need results from specific geographic locations.
Running Browser-use locally against a single target site works well for one-off tasks. At scale – multiple sessions, high-frequency monitoring, or sites with active bot detection – running from a single IP will eventually trigger rate limits or blocks. Residential proxies solve this by routing each session through a different IP associated with a real consumer device, which is far less likely to be flagged than a datacenter IP.
Geo-targeted proxies add another dimension: they let you pull region-specific prices, availability, and content that wouldn't be visible from a single fixed location. For retail, travel, and SERP monitoring use cases, this is often essential.
Configuring Decodo residential proxies in Browser-use
Residential proxies work because each IP is tied to a real consumer device – the kind of traffic that looks identical to an ordinary user visiting a site. Datacenter IPs, by contrast, are easy to fingerprint and block in bulk. For Browser-use specifically, where sessions are already designed to mimic human behavior, pairing the agent with Decodo residential proxies closes the last gap (the IP layer) that bot detection systems look for.
Decodo's network covers 195+ countries with ethically-sourced IPs, which matters when your use case requires geo-specific data. Retail prices, travel availability, and SERP results all vary by location – a single fixed IP only ever shows you one version of that data. With Decodo, you target the exact location you need and get the results that a real user in that region would see.
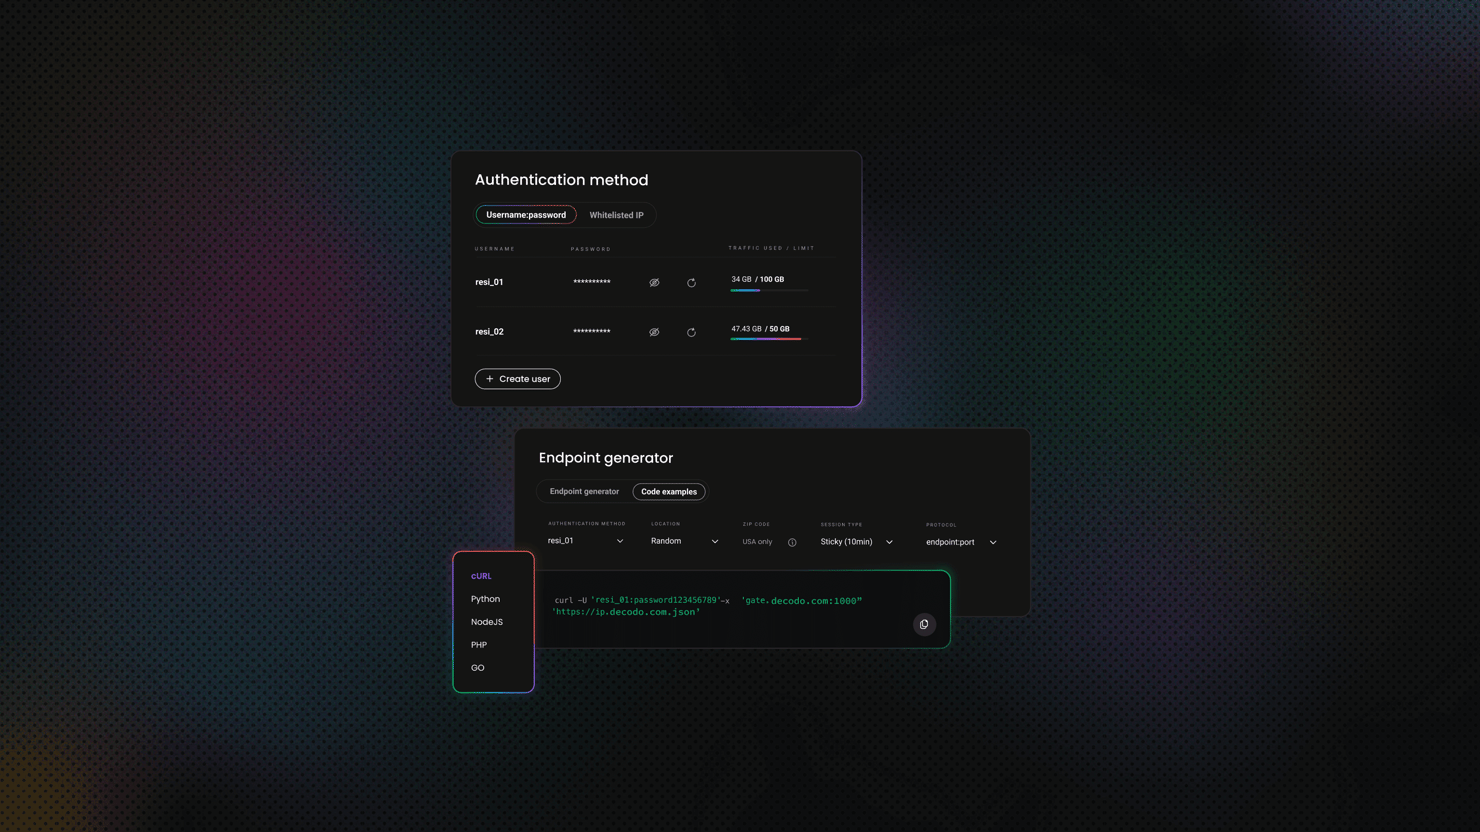
Here's how easy it is to set up Decodo residential proxies:
- Register or log in to the Decodo dashboard.
- Navigate to find residential proxies and choose a subscription that suits your needs or start with a 3-day free trial.
- Go to Proxy setup.
- Select a location or choose Random.
- Set the rotating session type and choose a protocol (HTTP(S) or SOCKS5).
- Choose the authentication type.
- Copy the generated endpoint and credentials or download them.
Get residential proxies for scraping text
Unlock superior scraping performance with a free 3-day trial of Decodo's residential proxy network.
The configuration passes proxy settings through a BrowserProfile and BrowserSession. Store credentials in .env and load them at runtime:
Load these variables into Python and pass them into the ProxySettings, which will then be attached to your browser profile:
Rotating proxies for multi-session tasks (updated)
For tasks that run across multiple regions or require a fresh IP per session, Decodo's rotating residential proxies handle IP rotation automatically. Each new session gets a different IP without any manual pool management on your end – which matters at scale, where manually cycling IPs becomes a maintenance burden faster than most teams expect.
Create a new BrowserSession per run with the proxy settings you need:
Add a randomized delay between sessions to avoid predictable timing patterns. Even behind residential IPs, machine-speed intervals are a detectable signal:
Full project
Want to skip setup and run everything right away? Download the complete project with all files included – main.py, config.py, prompts.py, and the .env template – ready to run locally.
After downloading, just install the dependencies, add your API key and proxy credentials to the .env file, and run the script.
Final thoughts
Browser-use is genuinely useful, but it's worth being clear-eyed about where it sits right now. The library is maturing fast and the fundamentals are solid – the LLM-to-Playwright architecture is sound, the prompt-driven workflow is flexible, and the proxy integration is straightforward. For tasks involving dynamic pages, multi-step flows, and layout variability, it outperforms anything built on fixed selectors.
The current constraint is reliability at volume. A well-prompted agent handles most runs cleanly, but edge cases still surface – an unexpected modal, a layout A/B test, a page load that takes slightly too long. The debugging tools help, and max_steps keeps things from spiraling, but production deployments still need human review loops for anything where a missed extraction or a failed interaction has real consequences.
That constraint will shrink as the models improve. The agents that work well today with careful prompting will eventually work well with less. The teams positioned to benefit are the ones building the infrastructure now – prompt libraries, error handling patterns, proxy rotation logic – rather than waiting for the technology to be perfect before touching it.
Access residential proxies now
Try residential proxies free for 3 days – full access, zero restrictions.
About the author

Dominykas Niaura
Technical Copywriter
Dominykas brings a unique blend of philosophical insight and technical expertise to his writing. Starting his career as a film critic and music industry copywriter, he's now an expert in making complex proxy and web scraping concepts accessible to everyone.
Connect with Dominykas via LinkedIn
All information on Decodo Blog is provided on an as is basis and for informational purposes only. We make no representation and disclaim all liability with respect to your use of any information contained on Decodo Blog or any third-party websites that may belinked therein.